
When it is time to install a project there are a few considerations that will assure your project goes off without a hitch. To achieve the best end product, installing handmade ceramic mosaics requires an installer with patience and some hands-on attention from the end client.
Patience and Experience
The most important part is getting an experienced installer who is familiar with handmade products and is willing to devote a bit more time and care to the project. These seasoned professionals may cost more, but having the patience and skill honed by years of experience will make a big difference in the outcome.
The second most important part is getting the end client involved. They need to be there and devote a bit of time to the project. This is not a project to have done while the clients are away on vacation. Participating in the layout and adjustment of a project while it is occurring is best.
Dry Layout
For complicated projects, the first step is to lay out the tile. This should be done the day before installation so adjustments can be made without the pressure of the crew waiting to get started. For installers, time is money, and having a crew waiting will always get the site foremen anxious.
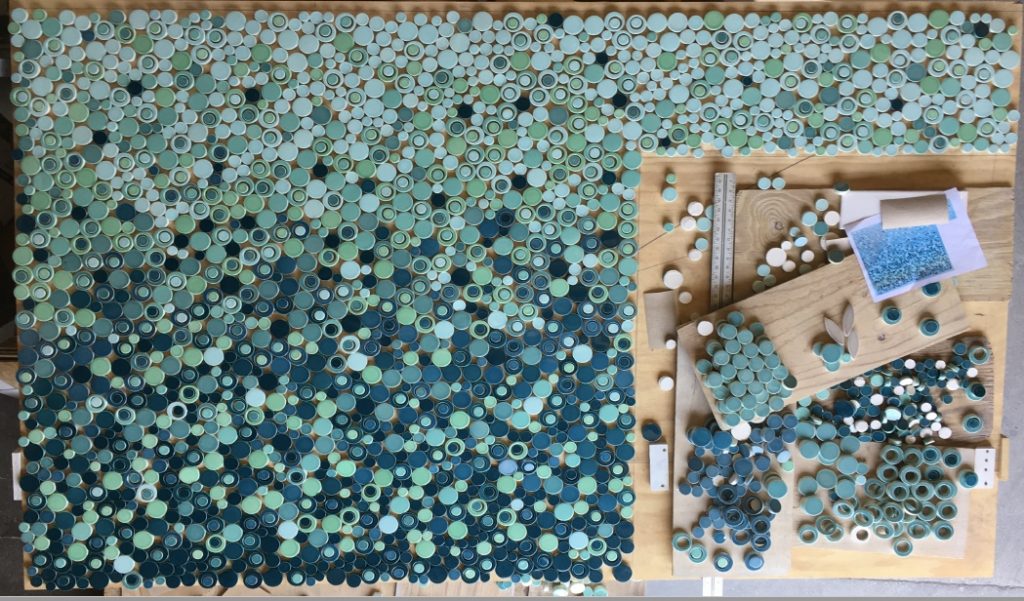
For a sheeted mosaic project, lay out the sheets and place them how they will be installed. Trim the sheets, without cutting tile, to approximate the layout. Now is the time to rearrange any tile to your liking. For mesh-mounted tile, or clear tape-faced tile, you can use a utility knife to free a tile or a section of tile to change the blend. For paper-faced sheets, the changes can be made at a later stage. Make any adjustments to the layout and retape the tile with the original sheeting or regular masking tape. Pay close attention to where sheets meet, grout spacing and inadvertent tile groupings in blends may need to be adjusted.
Installation
During the installation, the sheets will be applied to the wall and the installer will adjust them. Sometimes it is necessary to cut tile on the edges of sheets free to better blend the sheets together so seams between sheets are invisible. Any last-minute changes need to be made now before the adhesive sets. You will have some time to wiggle tiles into place.
For paper-faced mosaics, the paper is wetted and pulled free, then the tile can be seen and adjusted. Any spacing can be fixed before the adhesive is fully set.
Grout
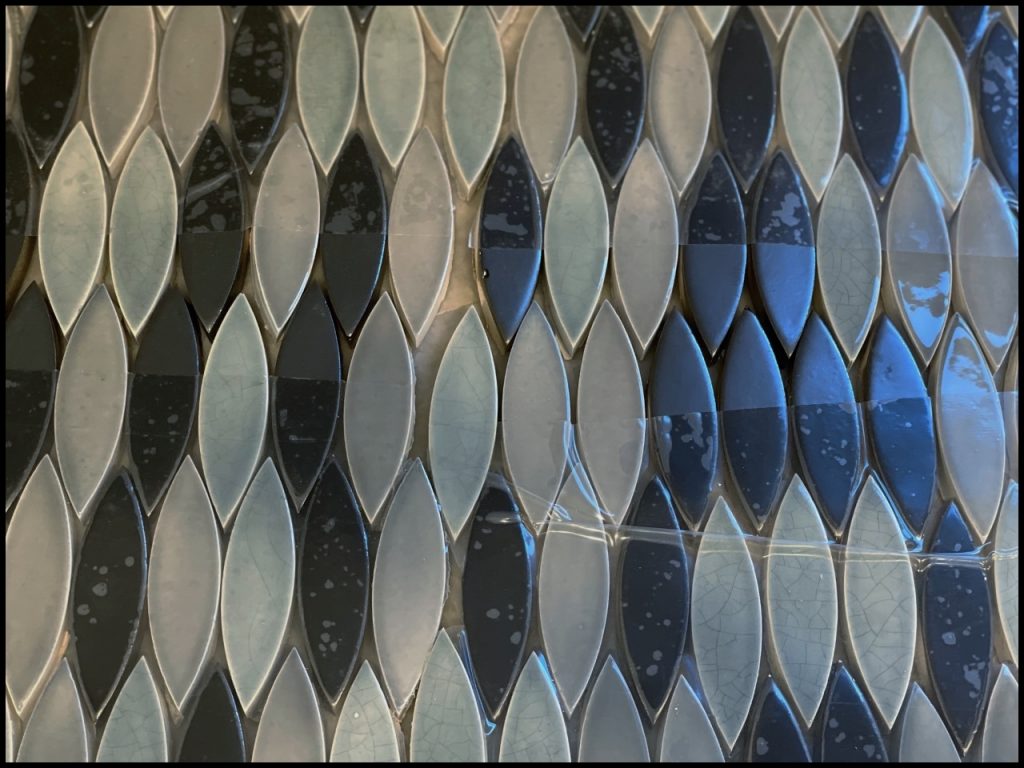
At this point in the process, people sometimes get nervous. Before grouting, installations don’t look so good. Rest assured that grouting helps blend things together and smooths out the visual appearance.
Picking the right grout color can help. A contrasting grout will accentuate the tile shape and pattern, while a non-contrasting grout will blend the project into a texture. Don’t be afraid to ask for a test patch to be grouted to help you make a decision.
Installing handmade ceramic mosaics takes a bit more time and care, but if you follow a few simple guidelines your project will turn out great and last for years.